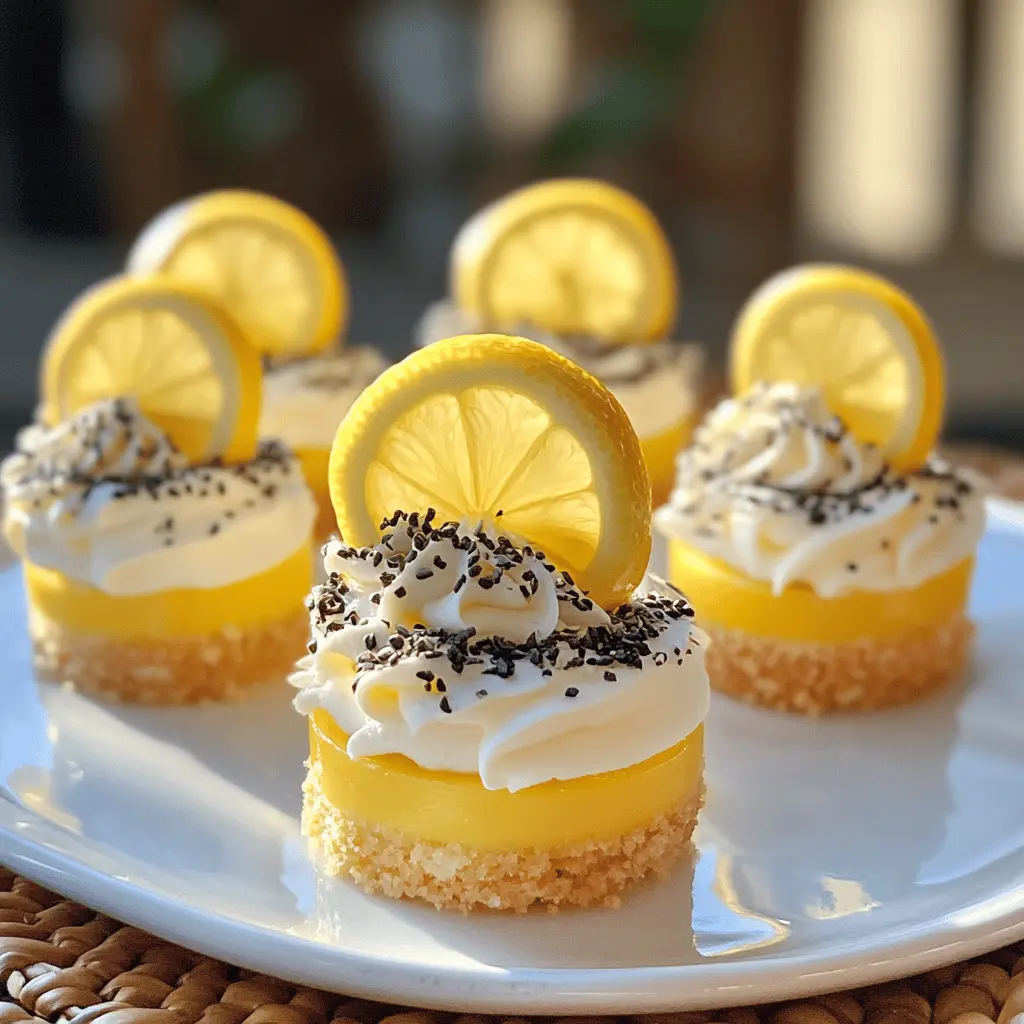
These Mini Lemon Cheesecakes are a burst of sunshine in every bite! With a zesty lemon flavor and a creamy texture, they are perfect for brightening up your day.
The best part? They’re individually sized, so you won’t have to share if you don’t want to! 😉 I love serving them at parties—they always disappear fast!
Key Ingredients & Substitutions
Graham Cracker Crumbs: They create a tasty crust. If you don’t have graham crackers, try using digestive biscuits or even crushed shortbread cookies for a slightly different flavor.
Cream Cheese: Use full-fat cream cheese for a rich texture. If you’re lactose intolerant, you can use a dairy-free cream cheese alternative. I’ve found those work quite well too!
Sour Cream: This adds creaminess and a tangy flavor. You can replace it with Greek yogurt if you’re looking for a healthier option. The consistency will be similar.
Lemon Juice and Zest: Fresh is best! But if you’re in a pinch, bottled lemon juice can work too. Just remember that fresh zest adds more flavor than canned alternatives.
Lemon Curd: You can easily buy it at the store, but homemade lemon curd is well worth the effort! It’s not hard to make and can really boost the flavor of your cheesecakes.
How Do You Ensure the Perfect Cheesecake Texture?
Getting the right texture is key to a great cheesecake. Here are some tips:
- Make sure the cream cheese is softened; this helps it blend smoothly without lumps. Leave it at room temperature for an hour before mixing.
- Do not overbeat the eggs. Mix them in just enough to combine; overmixing can introduce air, causing cracks when baking.
- Bake at a lower temperature. This minimizes the risk of overcooking. Keep an eye on them; once the edges are set and the centers are slightly jiggly, they’re done!
- Cooling slowly is important! Let them sit at room temperature first before refrigerating. This helps avoid a drastic temperature change, which can lead to cracks.
How to Make Mini Lemon Cheesecakes?
Ingredients You’ll Need:
For The Crust:
- 1 cup graham cracker crumbs
- 1/4 cup granulated sugar
- 1/2 cup unsalted butter, melted
For The Cheesecake Filling:
- 8 oz cream cheese, softened
- 1/2 cup granulated sugar
- 1 cup sour cream
- 2 large eggs
- 1/4 cup fresh lemon juice
- Zest of 1 lemon
For The Lemon Topping:
- 1/2 cup lemon curd (store-bought or homemade)
- Whipped cream for garnish
- Lemon slices for garnish
- Poppy seeds (optional, for garnish)
How Much Time Will You Need?
This recipe takes about 15 minutes of prep time, and you’ll need to bake for a total of approximately 25-30 minutes. After baking, you’ll want to chill the cheesecakes for at least 4 hours (or overnight if you can wait!). So, you’ll have a delicious dessert ready in about 4-5 hours total, including chilling time!
Step-by-Step Instructions:
1. Preheat the Oven:
Start by preheating your oven to 325°F (163°C). This is an important step to make sure the cheesecakes bake evenly. Line a muffin tin with cupcake liners or grease it well to prevent sticking later on.
2. Make the Crust:
In a medium bowl, mix the graham cracker crumbs, granulated sugar, and melted butter together until it’s combined. This will be your crust. Now, take about 1 tablespoon of this mixture and press it into the bottom of each muffin cup to form the crust. Bake these in the oven for about 5-7 minutes until they are slightly golden. Once done, remove them from the oven and let cool.
3. Prepare the Cheesecake Filling:
In a large mixing bowl, beat the softened cream cheese with a mixer until it’s smooth. Gradually add the granulated sugar, mixing until it’s well combined. Then, add the sour cream, eggs, fresh lemon juice, and lemon zest to this mixture. Continue mixing until everything is smooth and creamy.
4. Fill and Bake:
Pour the cheesecake filling over the cooled crusts in your muffin tin. Make sure to fill each cup about 3/4 full. Now, place the muffin tin back in the oven and bake for 20-25 minutes. You want the edges to be set, but the centers should still have a little jiggle when you shake the tin gently.
5. Cool and Chill:
After baking, remove the cheesecakes from the oven and let them cool at room temperature for about 30 minutes. Then, place them in the refrigerator to chill for at least 4 hours. If you have time, overnight chilling is best for a firmer texture!
6. Add Toppings:
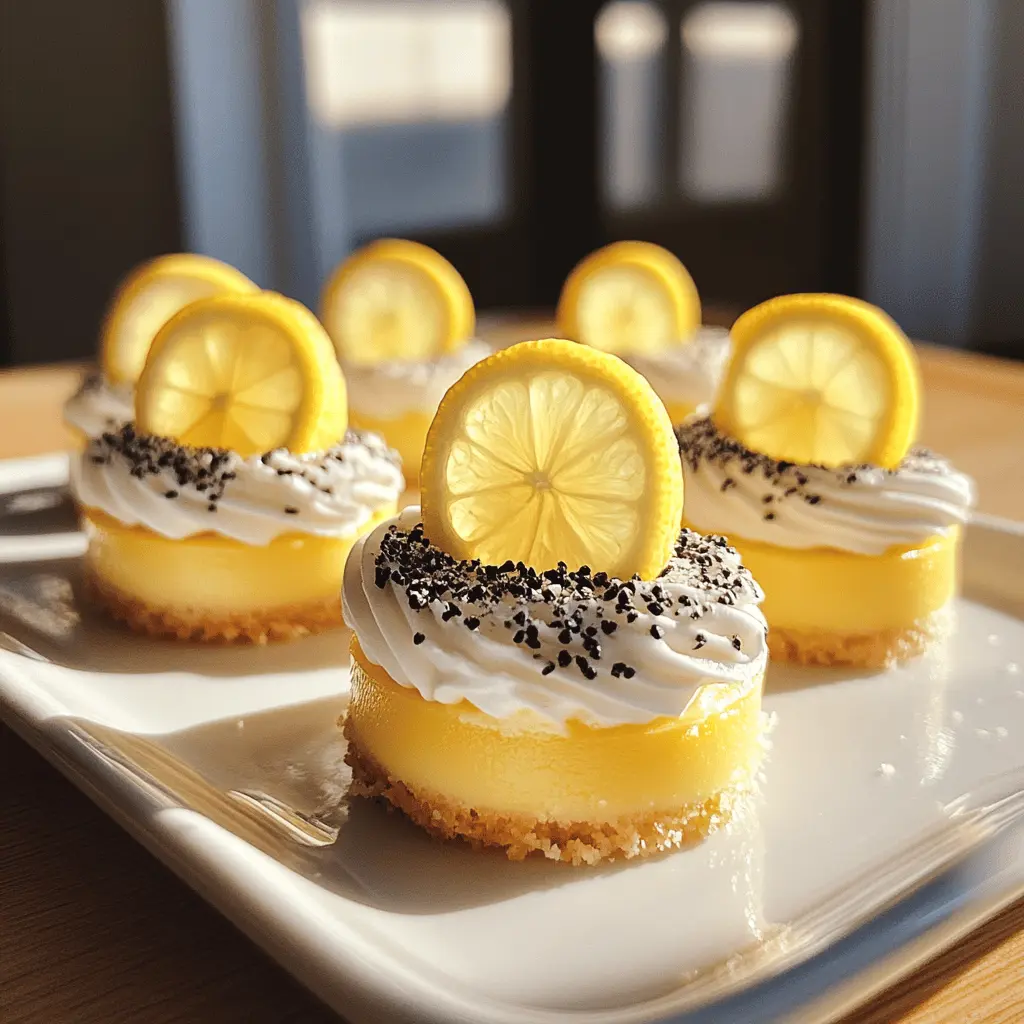
Once your cheesecakes are set, gently take them out of the muffin tin. Top each cheesecake with a layer of lemon curd. Then, pipe a little bit of whipped cream on top of each one, and garnish with a lemon slice and some poppy seeds if you like.
7. Serve and Enjoy:
These mini lemon cheesecakes are best served chilled, so enjoy your delightful treat! Perfect for a party or a quiet night in!
Can I Use Low-Fat Cream Cheese or Sour Cream in This Recipe?
Yes, you can substitute low-fat cream cheese or sour cream to lighten the recipe a bit. Just keep in mind that using reduced-fat ingredients may affect the creaminess and overall richness of the cheesecake. Make sure to mix well so everything combines smoothly!
How Do I Store Leftover Mini Cheesecakes?
Store any leftovers in an airtight container in the refrigerator for up to 5 days. To prevent them from drying out, it’s best to keep them topped with lemon curd or whipped cream until you’re ready to serve.
Can I Make These Cheesecakes Gluten-Free?
Absolutely! Simply use gluten-free graham cracker crumbs to create the crust. You can often find these at health food stores or in the gluten-free section of your grocery store.
Can I Freeze Mini Lemon Cheesecakes?
Yes, you can! Freeze them before adding the lemon curd and whipped cream for best results. Wrap each cheesecake tightly in plastic wrap, then place them in a freezer-safe container. They will keep for about 1-2 months. Thaw them in the refrigerator overnight before serving.