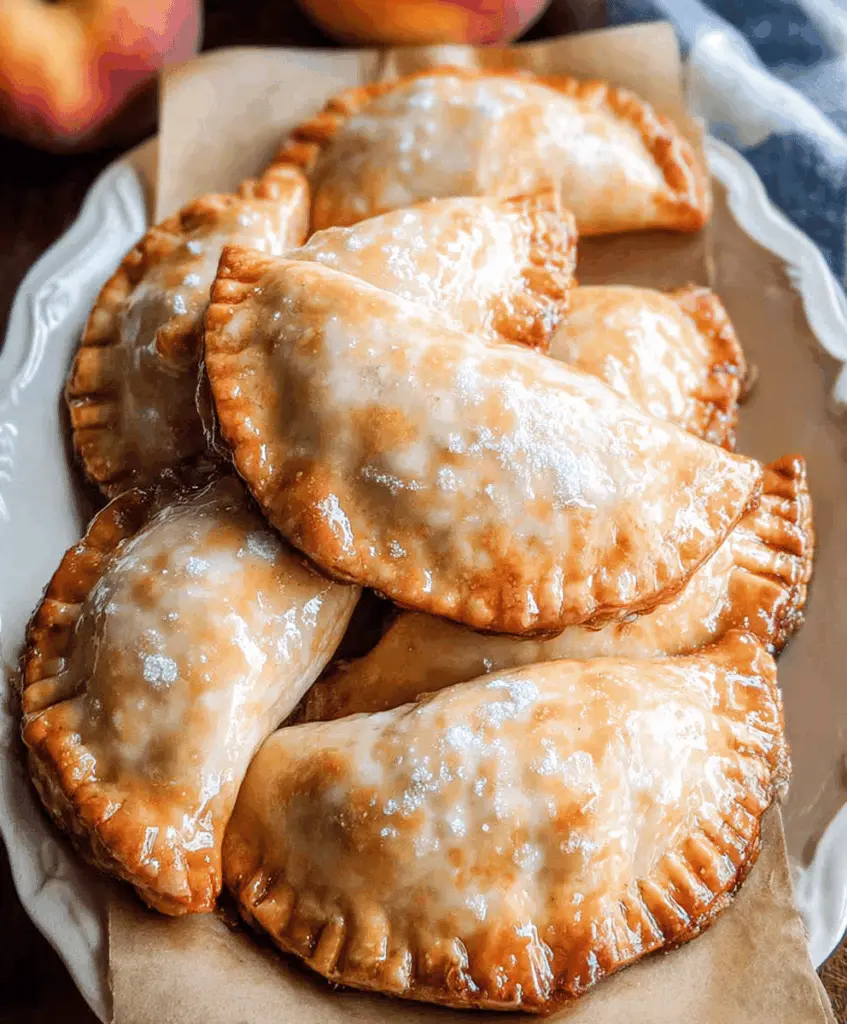
These easy homemade peach hand pies are sweet little treats you can hold in your hand! Filled with juicy peaches and wrapped in a flaky crust, they are perfect for dessert or a snack.
Making these pies is as fun as eating them! I love how the sweet peach filling makes my kitchen smell amazing while they bake. Plus, they’re great for sharing—if you can resist eating them all yourself! 😄
Key Ingredients & Substitutions
All-purpose flour: This is key for the crust. If you’re looking for a gluten-free option, you could try a gluten-free all-purpose blend, which usually works well in pies.
Unsalted butter: Cold butter creates a flaky crust. You can replace it with margarine or coconut oil if you prefer a dairy-free option, but the result may differ slightly in flavor and texture.
Peaches: Fresh, ripe peaches are best, but you can substitute with canned peaches (drained) or even frozen peaches (thawed and drained) if fresh ones aren’t available.
Sugar: Granulated sugar is standard, but brown sugar can add a richer flavor. For a low-calorie option, consider using a sugar substitute that measures like sugar.
What’s the Best Way to Get a Flaky Crust?
The key to a flaky crust is to keep your ingredients cold, especially the butter. When mixing the butter into the flour, aim for a crumbly texture and avoid overmixing; you should see small bits of butter. Here are some tips:
- Use a pastry cutter or your fingers to combine the butter with the flour without melting it.
- Add ice water gradually, just until the dough holds together—your goal is not to soak it.
- Chilling the dough for at least an hour helps it relax and makes rolling easier.
How Do You Seal Hand Pies Properly?
Sealing the hand pies well ensures all the delicious filling stays inside while baking. Here’s how:
- After placing the filling on the dough, brush a small amount of egg wash on the edges to help them stick.
- Fold the dough over the filling to make a half-moon shape, then press the edges firmly to seal.
- Crimp edges with a fork for a nice decorative touch and an extra seal—this helps keep juices from leaking out.
Enjoy making and sharing these delightful peach hand pies! They’re a scrumptious way to celebrate peach season or brighten up any day.

Easy Homemade Peach Hand Pies
Ingredients:
For the Crust:
- 2 1/2 cups all-purpose flour
- 1 tsp salt
- 1 tbsp sugar
- 1 cup unsalted butter, cold and cut into small cubes
- 1/4 to 1/2 cup ice water
For the Peach Filling:
- 3-4 ripe peaches, peeled and diced (about 2 cups)
- 1/4 cup granulated sugar
- 1 tbsp lemon juice
- 1 tbsp cornstarch
- 1/2 tsp ground cinnamon
- 1/4 tsp nutmeg (optional)
For Assembly:
- 1 egg, lightly beaten (for egg wash)
- 1 tbsp water (for egg wash)
For the Glaze:
- 1 cup powdered sugar
- 2 tbsp milk or heavy cream
- 1/2 tsp vanilla extract
Time Estimate:
This recipe takes approximately 20 minutes of prep time, plus about 30 minutes of baking time. With a cooling period after baking, the total time is around 1 hour and 20 minutes, including chilling the dough.
Step-by-Step Instructions:
1. Make the Crust:
In a large bowl, whisk together the flour, salt, and sugar. Add the cold butter cubes. Using a pastry cutter or your fingers, cut the butter into the flour until the mixture resembles coarse crumbs with some pea-sized pieces. This will help create a flaky crust!
2. Combine with Ice Water:
Gradually add in the ice water, starting with 1/4 cup. Mix gently until the dough begins to come together. If the dough seems dry, add more water a tablespoon at a time. Be careful not to overwork the dough.
3. Chill the Dough:
Divide the dough into two disks and wrap each in plastic wrap. Place them in the fridge to chill for at least 1 hour. Chilling helps keep the butter cold, leading to a flaky crust once baked.
4. Prepare the Filling:
In a medium bowl, mix together the diced peaches, sugar, lemon juice, cornstarch, cinnamon, and nutmeg. Gently toss the mixture to coat evenly, then let it sit for about 10-15 minutes. This allows the peaches to release their juices and blend flavors!
5. Roll Out the Dough:
On a floured surface, roll out one disk of the dough to about 1/8 inch thick. Use a round cutter, about 4-5 inches in diameter, to cut out circles. Gather and reroll the scraps as needed.
6. Fill the Hand Pies:
Place about 1-2 tablespoons of the peach filling in the center of each dough circle. Be careful not to overfill. Brush the edges of the circles with the egg wash (a mixture of beaten egg and water) to help create a good seal.
7. Seal the Hand Pies:
Fold the dough over the filling to create a half-moon shape. Press the edges firmly to seal, then crimp with a fork to ensure they’re secure and add some cute decoration!
8. Bake the Pies:
Preheat your oven to 375°F (190°C). Place the filled hand pies on a parchment-lined baking sheet and brush the tops with the remaining egg wash. This will give them a beautiful golden color when baked!
9. Baking Time:
Bake the hand pies for 20-25 minutes, or until they are golden brown and the filling is bubbly. Once baked, let them cool slightly on the baking sheet.
10. Make the Glaze:
While the pies are cooling, whisk together the powdered sugar, milk (or heavy cream), and vanilla in a small bowl until smooth. This glaze will give your pies a sweet finish!
11. Glaze and Serve:
Drizzle the glaze over the warm hand pies and allow them to set for a few minutes. Enjoy your delicious homemade peach hand pies warm, or at room temperature!
These flaky, sweet treats are a wonderful way to celebrate peach season or indulge your sweet tooth any day!

FAQ about Easy Homemade Peach Hand Pies
Can I Use Frozen Peaches Instead of Fresh Ones?
Yes, you can absolutely use frozen peaches! Just make sure to thaw them completely and drain any excess liquid before mixing them with the sugar and other filling ingredients. This will help prevent a soggy filling.
How Do I Store Leftover Hand Pies?
Store any leftover hand pies in an airtight container at room temperature for up to 2 days. If you need to keep them longer, consider refrigerating them, where they will last up to a week. Reheat in the oven for a crisp crust, or in the microwave if you’re in a hurry!
What Can I Substitute for the Butter in the Crust?
If you’re looking for a dairy-free option, you can substitute the butter with coconut oil or margarine. The pies may have a slightly different flavor and texture, but they will still be delicious!
Can I Make the Dough Ahead of Time?
Absolutely! You can prepare the dough a day in advance. Just wrap it tightly in plastic wrap and store it in the fridge. When you’re ready to make the pies, let the dough sit at room temperature for about 10-15 minutes before rolling it out.
Feel free to reach out if you have more questions—happy baking!