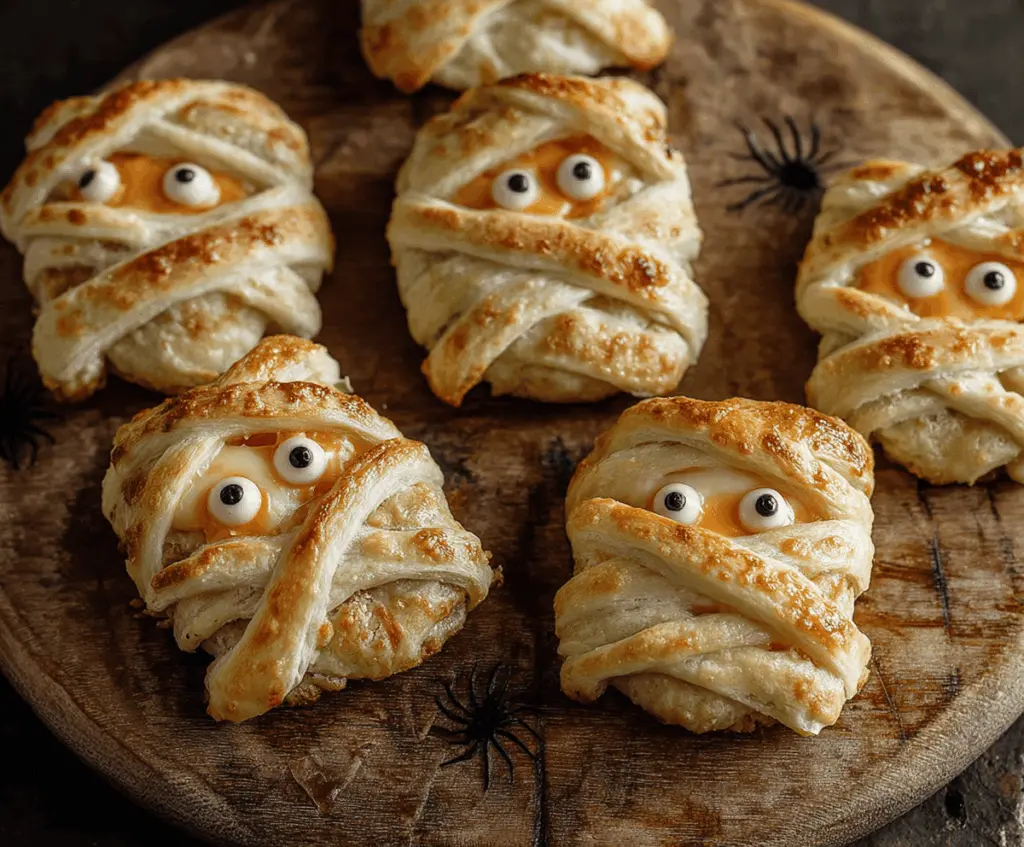
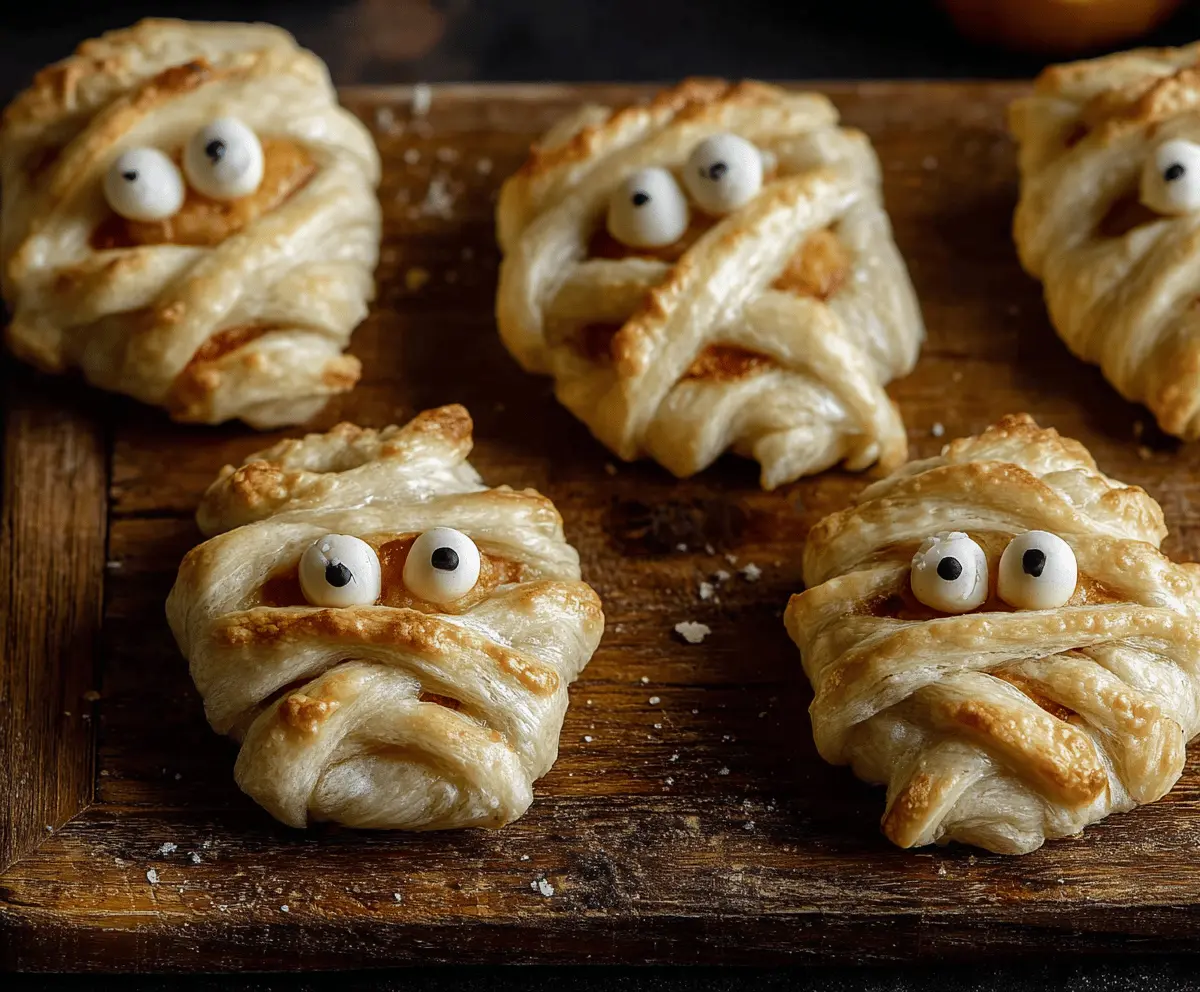
Baked Cheese Mummies are cute and cheesy snacks that are perfect for any spooky gathering! Made with gooey cheese wrapped in flaky pastry, they are both fun and tasty.
You can easily make these little mummies with your kids. I love how they puff up in the oven—it’s like a cheesy surprise! Get ready for smiles all around! 🎉
Key Ingredients & Substitutions
Puff Pastry: This is the base of your mummies. Thaw it properly before use. If you’re short on time, store-bought puff pastry works great! Alternatively, you can use crescent roll dough for a different taste.
Cream Cheese: This gives a rich and creamy texture. If you want a lighter option, try ricotta cheese or a plant-based cream cheese for a dairy-free version.
Cheddar Cheese: I love using sharp cheddar for extra flavor. Feel free to substitute with mozzarella or pepper jack if you want some heat!
Cooked Chicken or Turkey: Including this is optional. If you prefer a vegetarian version, skip the meat or swap it for sautéed mushrooms or spinach.
Candy Eyes: They add a fun touch! If you can’t find them, you can use black olives, small pieces of seaweed, or just skip the eyes for a classic look.
How Do I Make Sure My Mummies Are Well Wrapped?
Wrapping your cheese filling properly ensures that the cheese doesn’t leak out while baking. Here are some tips:
- When cutting the puff pastry into strips, keep them even for a consistent look. Aim for about ½ inch wide.
- Start wrapping from the bottom and work your way up, allowing some gaps for the eyes. This adds to the mummy look.
- Don’t worry about perfection! The more you crisscross the strips, the more “bandages” look your mummy will have.
Baked Cheese Mummies
Ingredients You’ll Need:
For the Filling:
- 1 package (about 8 oz) puff pastry sheet, thawed
- 8 oz cream cheese, softened
- 1 cup shredded cheddar cheese
- 1/2 cup finely chopped cooked chicken or turkey (optional)
- 1 tsp garlic powder
- 1/2 tsp onion powder
- Salt and pepper, to taste
For the Assembly:
- 1 egg, beaten (for egg wash)
- Edible candy eyes or small dollops of cream cheese with black sesame seeds for eyes
How Much Time Will You Need?
This recipe will take about 10 minutes to prepare and 15–20 minutes to bake, making it a quick and fun project. The total time from start to finish is around 30 minutes. Perfect for a last-minute spooky snack!
Step-by-Step Instructions:
1. Preheat the Oven:
First things first! Preheat your oven to 375°F (190°C). This ensures that your mummies will bake evenly. While the oven warms up, line a baking sheet with parchment paper to prevent sticking.
2. Prepare the Cheese Filling:
In a medium bowl, mix together the softened cream cheese, shredded cheddar cheese, and chopped cooked chicken (if you’re using it). Add in the garlic powder, onion powder, and a pinch of salt and pepper. Stir everything together until it’s well combined; this will be the gooey goodness inside your mummies!
3. Shape the Puff Pastry:
On a lightly floured surface, gently roll out your thawed puff pastry sheet. Cut the pastry into rectangles that are approximately 3×4 inches each. These will be the bodies of your mummies.
4. Fill the Pastry:
Place a generous tablespoon of the cheese mixture into the center of each pastry rectangle, making sure not to overfill them. You want enough room to wrap the edges without spilling any cheese.
5. Create the “Bandages”:
Take the leftover pastry and cut it into thin strips, about ½ inch wide. Now it’s time to create your mummy’s bandages! Carefully wrap these strips over the cheese filling, crisscrossing them and leaving an opening for the eyes. Get creative with your wrapping!
6. Get Ready to Bake:
Place each mummy onto the prepared baking sheet. Give them a nice golden color by brushing the tops lightly with the beaten egg.
7. Baking Time:
Pop your mummies into the preheated oven and bake for 15–20 minutes. Keep an eye on them; they’re ready when they puff up and turn a golden brown color!
8. Add the Eyes:
As soon as you take them out of the oven, quickly add the candy eyes or little dollops of cream cheese with black sesame seeds into the openings for the eyes. This step makes them extra fun!
9. Let Cool and Serve:
Let your Baked Cheese Mummies cool for a few minutes before serving. They are best enjoyed warm and delicious!
Enjoy Your Spooky, Cheesy Baked Mummies!
These little treats are sure to be a hit at any Halloween party or family gathering. Have fun and happy baking!

Can I Use Frozen Puff Pastry for This Recipe?
Absolutely! Just make sure to thaw it in the fridge overnight or on the counter for a couple of hours before you start preparing your mummies. This will ensure it’s easy to roll out and shape.
What Can I Use Instead of Cream Cheese?
If you’re looking for a different flavor or dairy-free option, cottage cheese or ricotta can work well, or you can use a plant-based cream cheese for a vegan alternative. Just make sure whichever you choose is spreadable and creamy!
How Do I Store Leftovers?
Store any leftover mummies in an airtight container in the fridge for up to 3 days. To reheat, pop them in the oven at 350°F (175°C) for about 10 minutes until they are warmed through and the pastry crisps up again.
Can I Make This Recipe Ahead of Time?
Yes! You can prepare the mummies a few hours in advance and keep them in the fridge before baking. Just remember to allow them to come to room temperature for about 10-15 minutes before popping them in the oven!